How to Make a Paper Box: A Step-by-Step Guide
Key Summary:
- This article will provide a step-by-step guide on how to make a paper box, perfect for crafting and gift-giving purposes.
- Materials needed, folding techniques, cutting and gluing instructions, and finishing touches will be covered.
- Real world use cases and examples of paper boxes in action will be provided to inspire creativity.
DIY crafts have become increasingly popular, with handmade gifts gaining appeal for their personal touch. Learning how to make a paper box can be a valuable skill for various occasions, from gift packaging to party favors. In this article, we will provide detailed instructions on creating a paper box, along with tips for customization and design. Get ready to unleash your creativity and craft the perfect paper box for any purpose!
Materials Needed
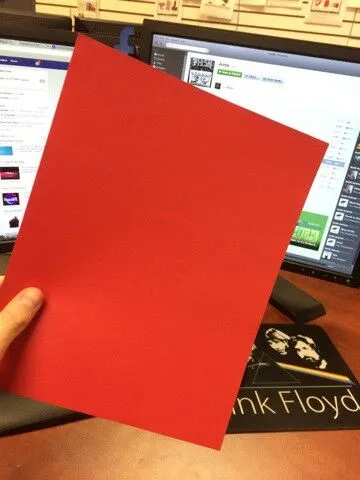
Before starting the paper box project, gather the necessary materials. You will need paper, scissors, a ruler, and glue. Choose a sturdy paper that is easy to fold and manipulate. Scissors with a sharp edge will make cutting the paper easier, while a ruler will help ensure straight lines. Glue is essential for securing the sides of the box together.
Step-by-Step Instructions
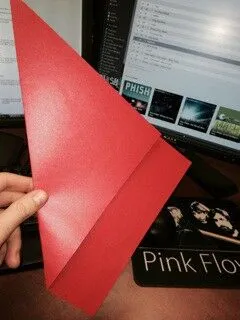
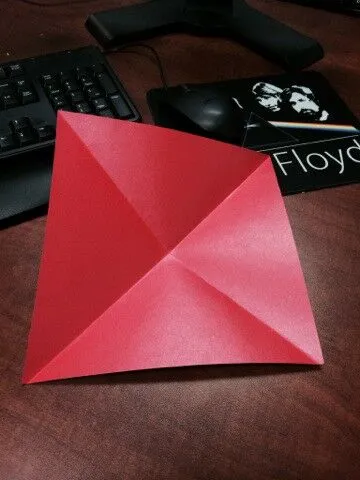
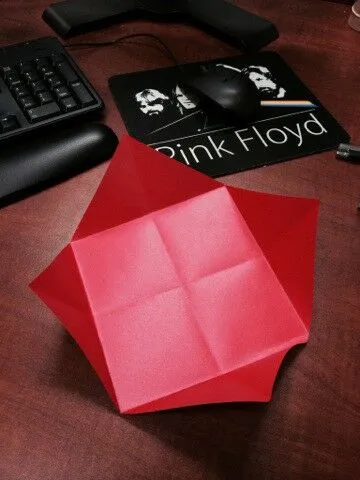
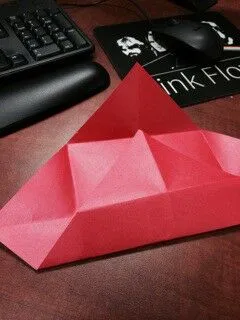
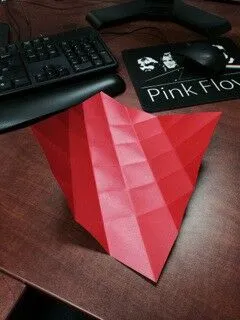
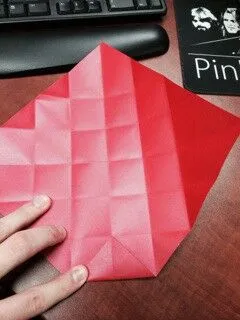
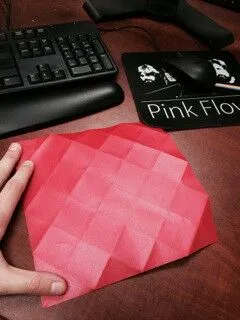
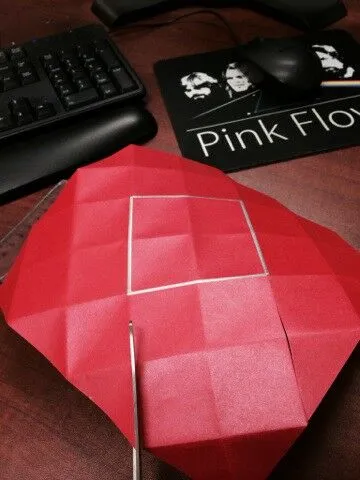
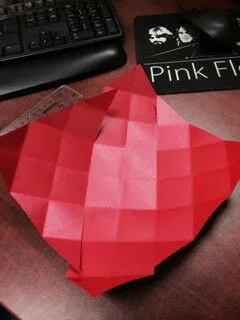
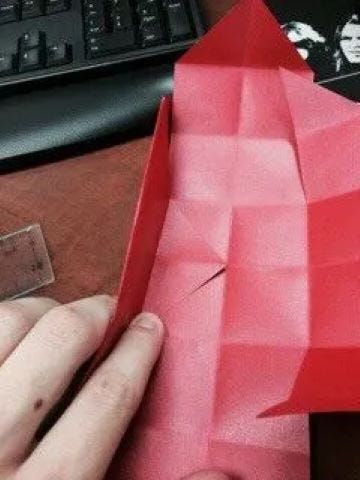
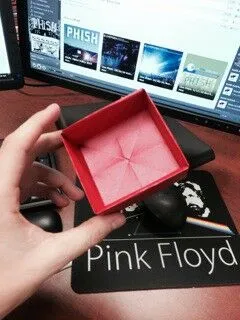
1. Folding the Paper: Begin by folding the paper according to the desired size of the box. Crease the paper firmly to create a sturdy base for the box. Make sure to align the edges and corners properly for a neat finish.
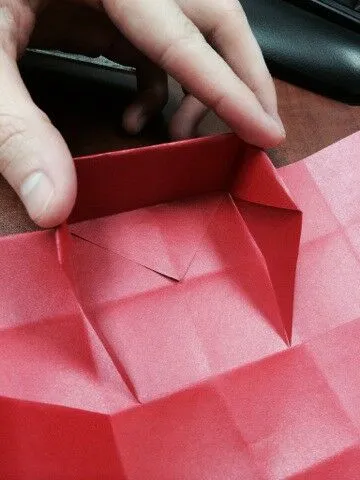
2. Cutting and Gluing: Once the paper is folded, cut along the designated lines to create flaps for the sides of the box. Apply glue to the flaps and carefully attach them to form the box shape. Press firmly to ensure a secure bond.
3. Finishing Touches: To add a personal touch to the paper box, consider decorating it with ribbons, stickers, or other embellishments. These finishing touches can enhance the overall look of the box and make it more visually appealing.
Real World Use Cases and How To Do It
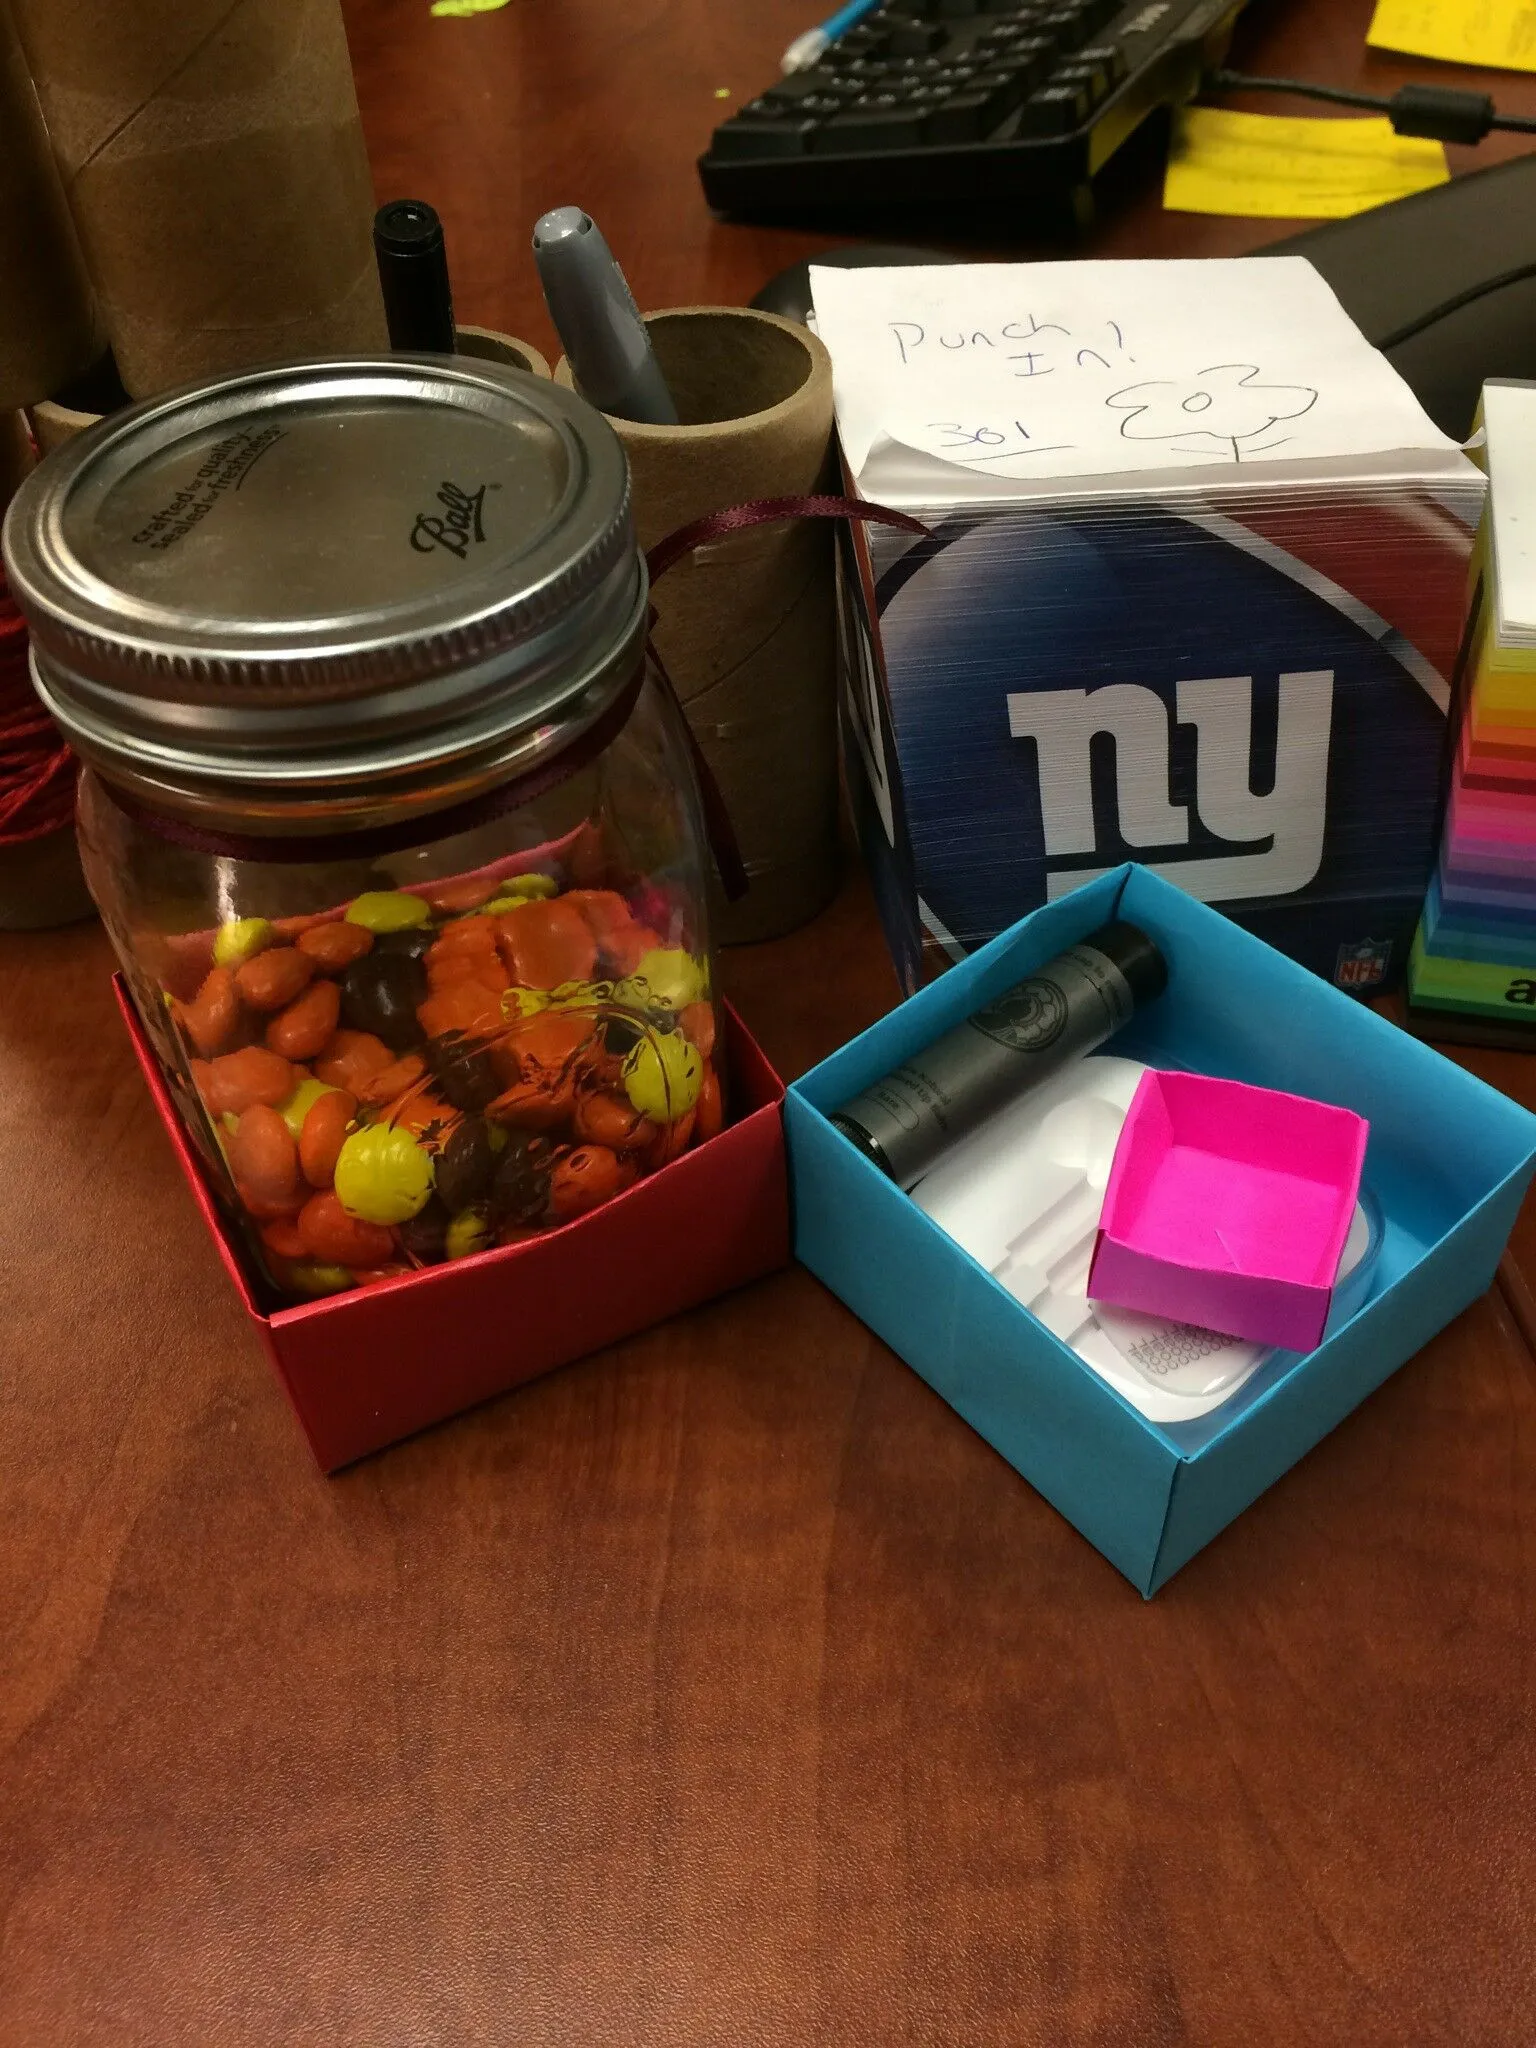
When it comes to real-world use cases, paper boxes are versatile and practical for various purposes. For gift packaging, consider making a paper box in a size that fits the gift perfectly. Party favors can also be presented in customized paper boxes, adding a special touch to the event. Organizing small items such as jewelry or stationery is another great use for paper boxes.
Who Can Benefit from This Tutorial
Whether you are a crafting enthusiast, a DIY lover, or someone looking to add a personal touch to gifts, this tutorial is perfect for you. Here are some specific groups of people who can benefit from learning how to make a paper box:
- Art and craft enthusiasts
- DIY lovers
- Gift-givers
- Event planners
- Organizational enthusiasts
When to Utilize This Paper Box Tutorial
Knowing when to use this paper box tutorial can help you make the most of your crafting skills. Here are some situations where making a paper box can come in handy:
- Gift-giving occasions
- Party favors for events
- Organizing small items at home or office
- Creating personalized packaging for products
- Adding a handmade touch to special occasions
Examples of How to Apply This Paper Box Tutorial
Understanding the various use cases for paper boxes can inspire you to get creative with your crafting projects. Here are some examples of how you can apply this paper box tutorial in real-life situations:
- Creating custom gift boxes for birthdays, holidays, or special occasions
- Designing unique party favor boxes for weddings, baby showers, or corporate events
- Organizing jewelry, stationery, or small trinkets in decorative paper boxes
- Using paper boxes as packaging for handmade products or small business items
- Adding a personal touch to your home decor by displaying decorative paper boxes
What Sets Our Product Apart
Our paper box tutorial stands out from the rest due to its detailed step-by-step instructions and emphasis on customization. We provide clear guidance on folding, cutting, and gluing techniques to ensure a professional-looking finished product. Additionally, our tutorial offers tips on adding decorative elements to make each paper box unique and personalized. With our easy-to-follow instructions, anyone can create a beautiful paper box for any occasion.
List of Practical Applications
One of the most common uses for paper boxes is gift packaging. By following our tutorial, you can create custom-sized boxes to fit any gift perfectly. Add a personal touch with decorative elements to make your gift stand out.
For events such as weddings, baby showers, or corporate gatherings, paper boxes make excellent party favors. Customize the design and size of the boxes to match the theme of the event and impress your guests.
Small paper boxes are ideal for organizing jewelry, stationery, or other small items at home or in the office. Create multiple boxes in different sizes to keep your belongings neatly arranged and easily accessible.
Tips for Maximizing Your Crafting Experience
To get the most out of your adventure with our paper box tutorial, consider the following tips:
Try using different types of paper, such as patterned or textured paper, to create unique and eye-catching paper boxes. Experimenting with various materials can add a new dimension to your crafting experience.
Add a personal touch to your paper boxes by incorporating elements that reflect your style or the recipient's preferences. Consider adding personalized tags, stickers, or embellishments to make each box special.
Don't be discouraged if your first few attempts at making a paper box don't turn out perfectly. Practice makes perfect, so keep trying and refining your skills to create flawless paper boxes every time.
Crafting Your Own Paper Box: Unleash Your Creativity
As we wrap up this article, we have covered the key steps and tips for making a paper box, from gathering materials to adding finishing touches. Whether you are a crafting enthusiast, a DIY lover, or someone looking to add a personal touch to gifts, this tutorial is perfect for you. By learning how to make a paper box, you can create customized packaging for gifts, party favors, or small items, adding a unique and handmade touch to any occasion. So, grab your paper, scissors, and glue, and start crafting your own paper box today!