Cart
You have no items in your shopping cart.
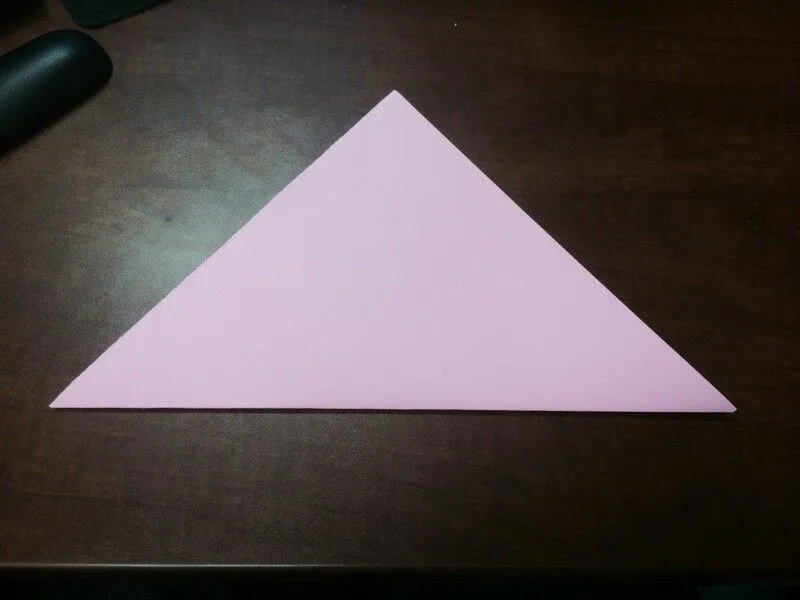
With Easter right around the corner I thought this might be a fun guide to post on the blog. The origami bunny. It doesn't require too many folds and it's pretty easy to make, just follow the directions! You'll want to pick a paper color of your choice, I used light pink. As is standard practice with origami folding, make sure the paper you are working with is a square. To do that, simply fold one of the top corners to the end of the paper, and cut off the excess. Okay! Let's get to it! STEP 1: Keeping it simple, fold the paper in half, to make a triangle.
STEP 2: Again again! Fold the paper in half again, to make an even smaller triangle.
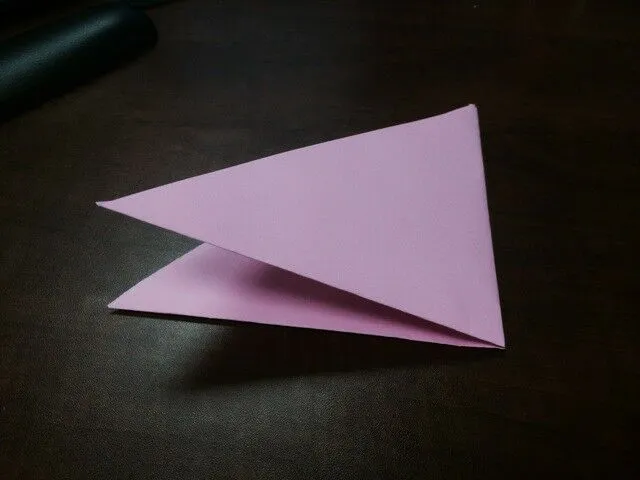
STEP 3: Open up that smaller triangle, back to the first one, and fold up the bottom slightly.
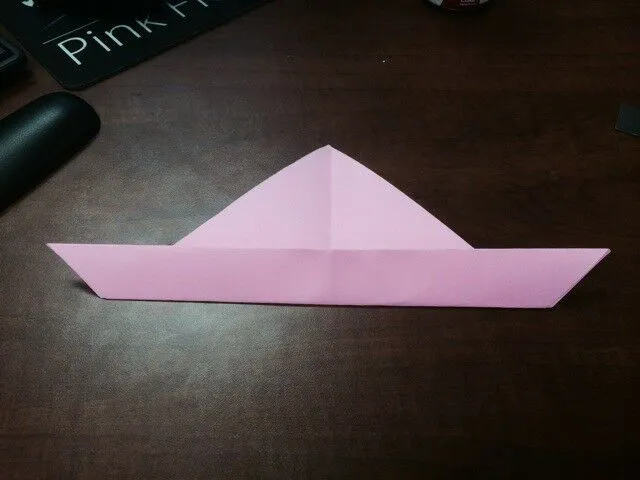
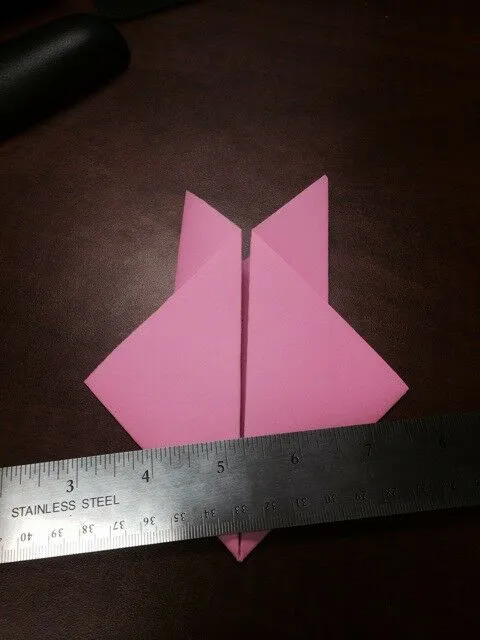
STEP 4: Fold both the left and right sides to meet at the center crease, like so...
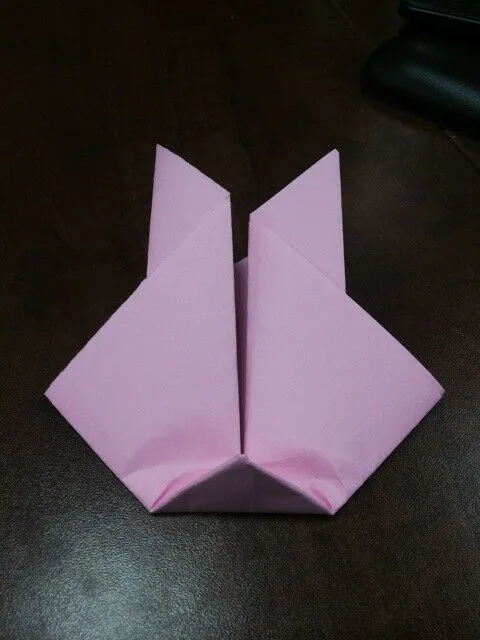
STEP 5: Fold the bottom point up slightly.
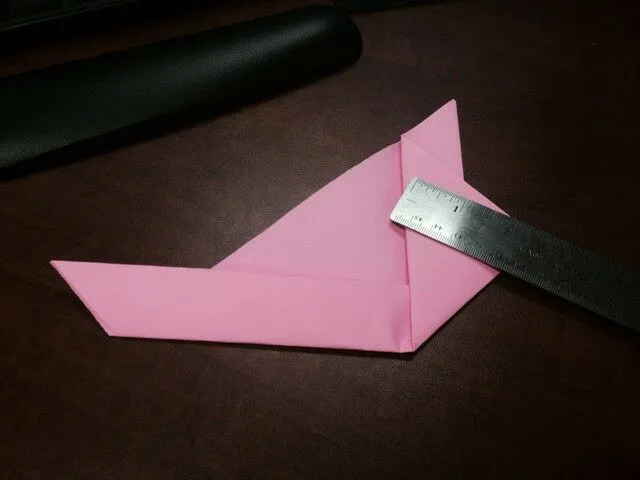
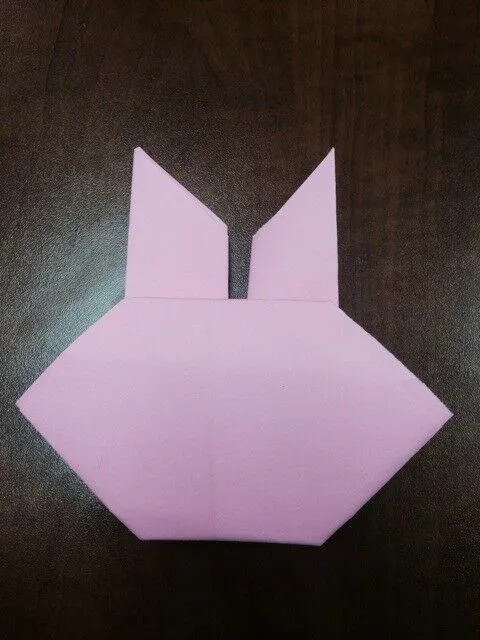
STEP 6: Flip your bunny over, and fold the top point inward slightly.
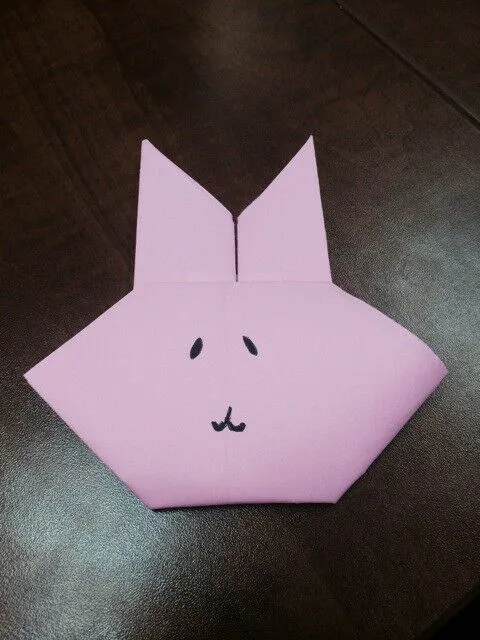
STEP 6: STEP 7: Draw on a face! and voila, you are done!
Origami, the art of paper folding, has a rich history and cultural significance. Many people enjoy origami as a hobby due to its therapeutic benefits and the satisfaction of creating something beautiful out of a simple piece of paper. In this article, we will explore how to make an origami bunny, a fun and festive project perfect for Easter or any time of year. From the history of origami to step-by-step instructions and real-world use cases, readers will learn everything they need to know to create their own adorable origami bunny.
Origami originated in Japan, with the first known reference dating back to the 17th century. Over time, origami has evolved from simple paper folding to intricate designs and sculptures. In Japanese culture, origami holds traditional significance, symbolizing creativity, patience, and mindfulness. The art form is often used in ceremonies and celebrations to convey good luck and best wishes.
To make an origami bunny, you will need a square piece of paper and a flat surface to work on. When choosing paper for origami projects, it is important to select a type that is thin yet sturdy, such as origami paper or lightweight craft paper. Avoid using thick or textured paper, as it may be difficult to fold and manipulate.
1. Begin by folding the paper in half diagonally to create a triangle shape. 2. Next, fold the top corners of the triangle down to meet at the center crease, forming a diamond shape. 3. Fold the bottom corners of the diamond up to create the bunny's ears, adjusting the angle to your desired size. 4. Fold the bottom point of the diamond up towards the top to form the bunny's head, leaving a small gap for the nose. 5. Finally, add details such as eyes, a nose, and a tail to bring your origami bunny to life.
Origami can be used in a variety of ways beyond just creating decorative pieces. It can be a thoughtful gift, a fun activity for children, or a tool for teaching geometry and spatial reasoning. To improve your origami skills, practice regularly and experiment with different paper sizes and designs. With dedication and patience, you can master the art of origami and create beautiful creations for any occasion.
Our origami bunny guide offers a detailed and easy-to-follow step-by-step process that is perfect for beginners and experienced folders alike. The clear instructions and accompanying visuals make it simple to create a cute and charming bunny every time. Additionally, our guide includes tips on choosing the right paper and adding personalized details to make each bunny unique. With our guide, you can create an origami bunny that stands out and brings joy to anyone who sees it.
There are endless possibilities for how you can use your origami bunny creation. Whether you want to decorate your home for a special occasion, give a handmade gift to a loved one, or simply enjoy a relaxing and creative activity, the origami bunny is a versatile and charming project. Consider incorporating your bunnies into greeting cards, table centerpieces, or even as part of a larger origami display. Let your imagination run wild and explore the many ways you can showcase your origami bunnies.
Don't be discouraged if your first few attempts at folding an origami bunny don't turn out perfectly. Like any skill, origami takes practice and patience. Keep trying and experimenting with different techniques until you feel confident in your abilities.
While our guide provides a basic template for creating an origami bunny, feel free to add your own creative touches to make each bunny unique. Experiment with different paper colors, sizes, and patterns, and consider adding embellishments like stickers or glitter for a personalized touch.
Don't keep your origami bunnies to yourself - share them with friends, family, and fellow origami enthusiasts. Whether you post photos on social media, host a crafting party, or give bunnies as gifts, sharing your creations can inspire others to try their hand at origami and spread joy through the art of paper folding.
From learning about the history of origami to mastering the step-by-step instructions, creating an origami bunny is a fun and rewarding experience. Whether you are an origami enthusiast, a parent looking for a creative activity, or simply someone interested in exploring Japanese culture, making an origami bunny can bring joy and relaxation to your day. So grab a piece of paper, follow the instructions, and let your creativity soar as you bring your origami bunny to life!


